If you’ve inherited a greenhouse with cracked or missing glass, or you’re just tired of replacing panes every time a football or a storm hits, switching to plastic panels is the practical solution. Both acrylic and polycarbonate are lighter than glass, dramatically more impact-resistant and easier to cut and fit yourself.
The question is which material to use. The answer depends on what matters most for your greenhouse.
Acrylic or Polycarbonate: Which Is Right?
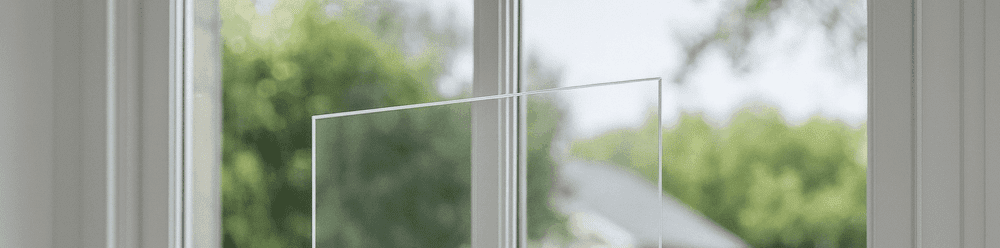
Clear acrylic transmits up to 92% of visible light more than glass and won’t yellow over time thanks to built-in UV stability. It’s the better choice if maximum light transmission and long-term clarity are your priorities. It scratches more easily than polycarbonate but scratches can be polished out.
Polycarbonate is virtually unbreakable. It handles higher temperatures, carries a Class 1 fire rating and withstands repeated heavy impacts that would crack acrylic. If your greenhouse is in an exposed position, near a play area, or you need the toughest possible material, polycarbonate wins on strength. Light transmission is slightly lower than acrylic but still excellent.
For most domestic greenhouses, clear acrylic in 3mm or 4mm hits the sweet spot better clarity than the original glass, far safer, and more than adequate for normal weather conditions.
What You’ll Need
Materials: Clear acrylic sheet or polycarbonate sheet in 3mm or 4mm thickness, glazing clips or the existing greenhouse glazing system, clear silicone sealant (neutral cure).
Tools: Tape measure, fine-tip marker, straight edge, fine-tooth saw or jigsaw with plastic blade, 800 grit sandpaper, clean cloths, safety gloves.
Step 1: Remove the Old Panel
Wear gloves especially if dealing with broken glass. Remove any glazing clips holding the old pane, then carefully lift it out from the frame. Clean the rebate (the groove or ledge the panel sits in) of any old putty, sealant or debris. The new panel needs a clean, flat surface to sit against.
Step 2: Measure the Opening
Measure the internal dimensions of the frame opening width and height. Deduct 2-3mm from each measurement to allow for thermal expansion. Plastic expands and contracts more than glass with temperature changes, so a tight fit will cause the panel to bow or buckle in hot weather.
If the old glass pane is intact, you can use it as a template by laying it on top of the new sheet and tracing around it though still deduct the 2-3mm expansion gap.
Step 3: Cut the Panel
Mark your cutting line on the protective film (leave the film on during cutting it protects the surface). Use a straight edge as a guide and cut with a fine-tooth saw. For curves or irregular shapes, a jigsaw with a plastic-cutting blade works well.
Cut at a moderate speed too fast and the blade generates heat that can melt the edges. Once cut, smooth the edges with 800 grit sandpaper to remove any burrs.
If you’d rather not cut on site, Plastic Sheets Direct offer a cut-to-size service send your measurements and the panels arrive ready to fit.
Step 4: Fit the Panel
Slot the new panel into the frame rebate. If your greenhouse uses glazing clips (the W-shaped metal clips common on aluminium-framed greenhouses), press them over the panel edge to secure it. Most clip systems designed for glass work equally well with 3mm or 4mm acrylic or polycarbonate.
For timber-framed greenhouses that use putty, apply a thin bed of clear neutral cure silicone in the rebate before pressing the panel in. Then run a bead of silicone around the outside edge to weatherproof the joint. Silicone is more flexible than putty and accommodates the thermal movement of the plastic panel.
Step 5: Remove Protective Film
Once the panel is securely fitted, peel off the protective film from both sides. If the film has been exposed to sun for a long time before fitting, it can be stubborn warm it gently with a hairdryer to soften the adhesive.
Tips for a Better Result
Don’t overtighten clips. The panel needs room to expand. Tight clips create stress points that can crack the sheet in hot weather.
Clean with the right products. Warm soapy water and a soft cloth. Never use window cleaner sprays containing ammonia they can cloud acrylic over time. A dedicated anti-static cleaner reduces dust build-up between cleans.
Consider replacing all panels at once. If several panes are original glass, replacing the lot gives you a consistent look and eliminates the risk of future breakages. Ordering all panels as a single cut-to-size batch is usually more cost-effective than replacing them one at a time.
What Thickness Do I Need?
3mm suits most standard greenhouse panes and fits the glazing clip systems on aluminium-framed greenhouses. It provides good rigidity for typical panel sizes up to about 600mm x 600mm.
4mm is a better choice for larger panes, exposed locations, or greenhouses where panels take a regular battering from weather or nearby activity.
5mm and above may be needed for oversized panes or structural glazing on lean-to greenhouses and conservatory-style structures. It adds weight, so check that the frame can support it.
Browse clear acrylic sheets by thickness or polycarbonate sheets to find the right material for your greenhouse.